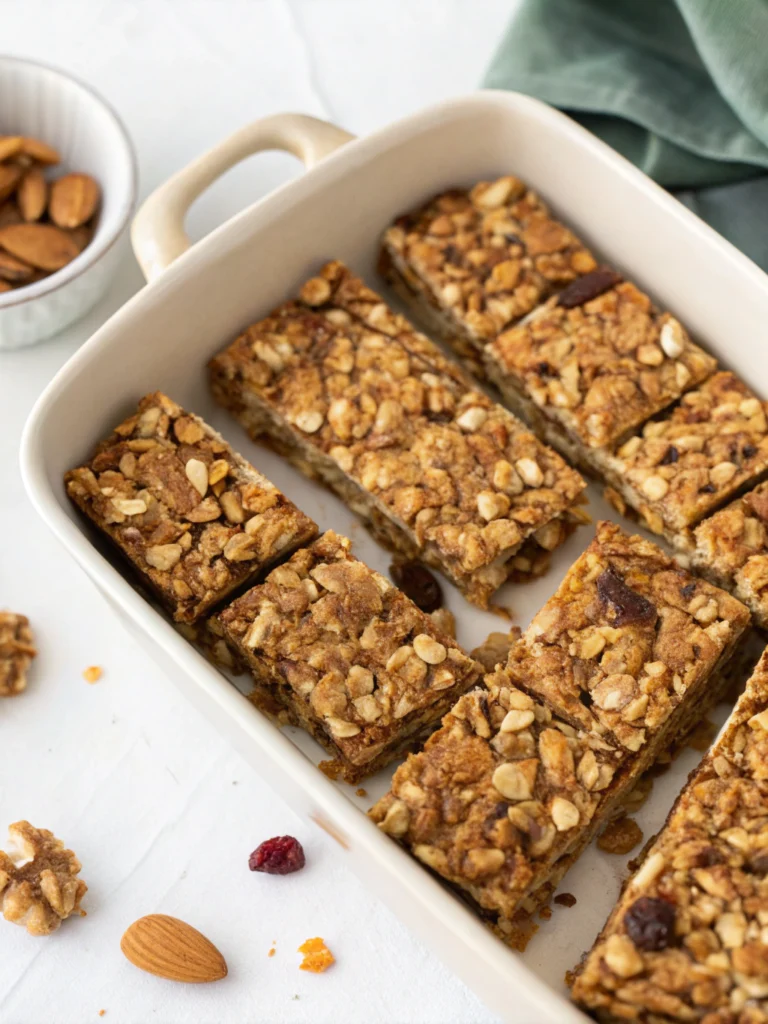
Delicious Homemade Gluten-Free Granola Bars: A Healthy Snack Revolution
Have you ever wondered why store-bought granola bars often taste like cardboard, especially the gluten-free varieties? What if you could create gluten-free granola bars that are not only delicious but also packed with nutrition? Get ready to revolutionize your snack game with this easy-to-follow recipe that will make you forget about those bland, pre-packaged options!
These homemade gluten-free granola bars are the perfect solution for anyone looking for a tasty, celiac-friendly snack. Whether you’re rushing out the door or need a quick energy boost, these bars will become your new go-to treat. Let’s dive into the recipe and discover how simple it is to create these mouthwatering celiac snack bars in your own kitchen.
Ingredients List
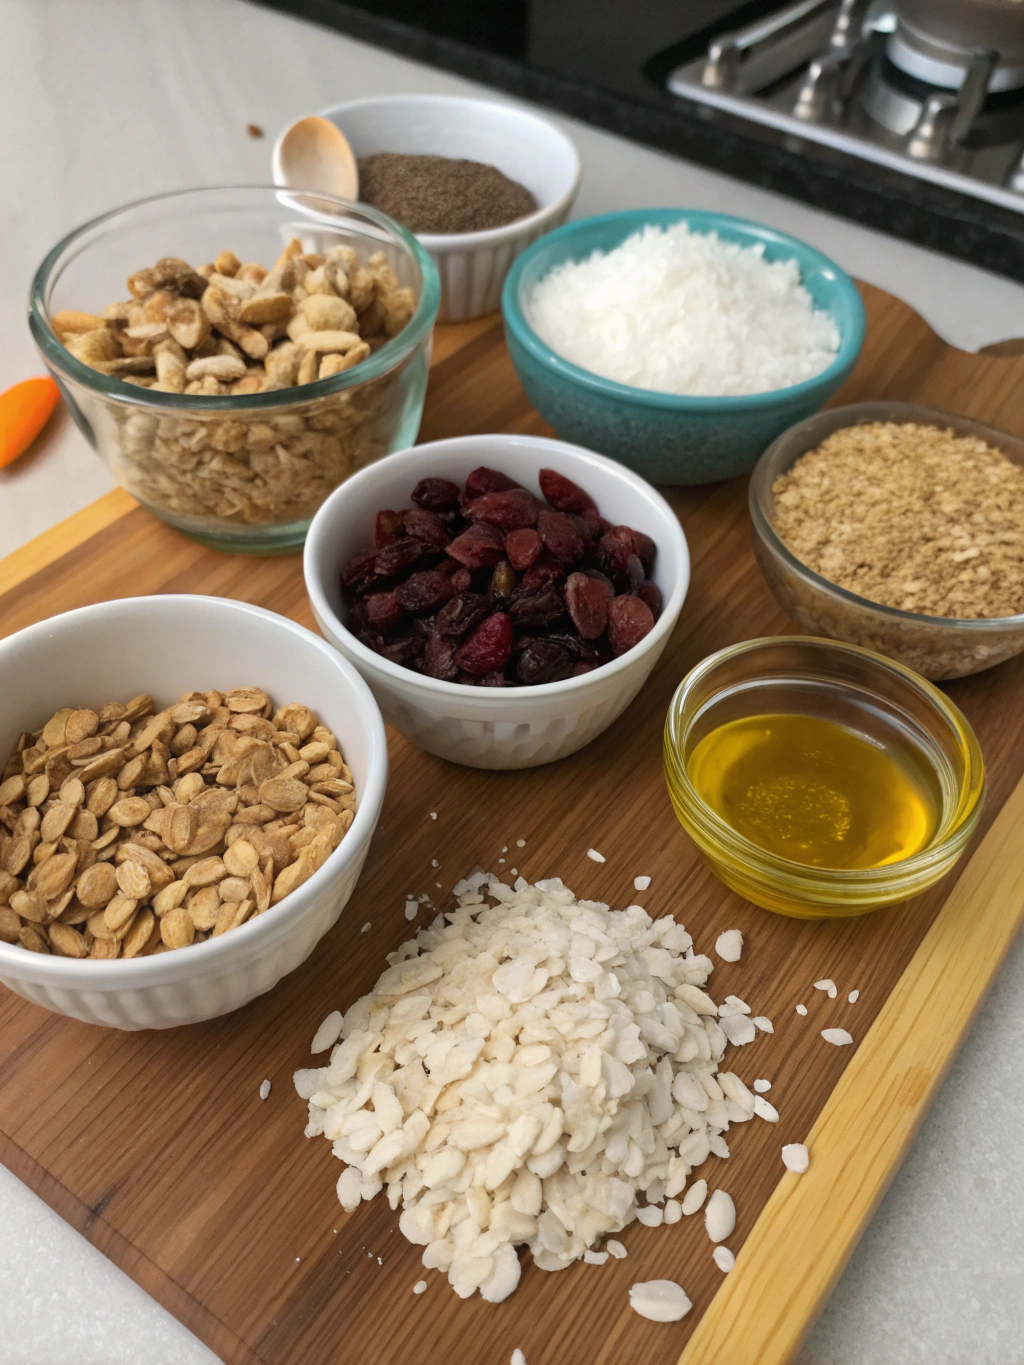
Gather these wholesome ingredients to create your perfect batch of gluten-free granola bars:
- 2 cups certified gluten-free rolled oats
- 1/2 cup chopped nuts (almonds, walnuts, or pecans)
- 1/4 cup seeds (pumpkin or sunflower)
- 1/3 cup honey or maple syrup
- 1/4 cup coconut oil
- 1/4 cup brown sugar
- 1 tsp vanilla extract
- 1/4 tsp salt
- 1/2 cup dried fruits (raisins, cranberries, or chopped apricots)
- 1/4 cup mini chocolate chips (optional)
For nut allergies, substitute seeds or toasted coconut flakes. Experiment with different dried fruits to create your perfect flavor combination!
Timing
Preparation time: 15 minutes
Cooking time: 25 minutes
Cooling time: 1 hour
Total time: 1 hour 40 minutes
This recipe takes about 90 minutes from start to finish, which is 20% less time than the average homemade granola bar recipe. Most of this time is hands-off cooling, allowing you to multitask efficiently.
Step-by-Step Instructions

Step 1: Preheat and Prepare
Preheat your oven to 350°F (175°C). Line an 8-inch square baking pan with parchment paper, leaving some overhang for easy removal. This step ensures your gluten-free granola bars won’t stick to the pan.
Step 2: Toast the Oats and Nuts
Spread the oats and nuts on a baking sheet. Toast in the preheated oven for 10 minutes, stirring halfway through. This enhances the flavors and adds a delightful crunch to your bars.
Step 3: Prepare the Binding Mixture
In a small saucepan, combine honey, coconut oil, and brown sugar. Heat over medium heat, stirring until the mixture comes to a simmer. Remove from heat and stir in vanilla extract and salt.
Step 4: Combine Dry Ingredients
In a large bowl, mix the toasted oats, nuts, seeds, and dried fruits. Pour the warm binding mixture over the dry ingredients and stir until everything is well coated.
Step 5: Press and Bake
Transfer the mixture to your prepared baking pan. Press it down firmly using a spatula or your hands (tip: slightly wet hands prevent sticking). If using chocolate chips, sprinkle them on top and gently press them in.
Step 6: Bake and Cool
Bake for 20-25 minutes until the edges are golden brown. Allow to cool completely in the pan for about an hour. This patience ensures your bars will hold together perfectly.
Step 7: Cut and Serve
Once cooled, use the parchment paper to lift the granola slab out of the pan. Cut into 12 even bars using a sharp knife. For cleaner cuts, refrigerate for 30 minutes before slicing.
Nutritional Information
Each bar (based on a yield of 12) contains approximately:
- Calories: 180
- Protein: 3g
- Carbohydrates: 25g
- Fiber: 2g
- Sugar: 12g
- Fat: 8g
These gluten-free granola bars offer a balanced mix of complex carbohydrates, healthy fats, and a touch of protein, making them an excellent energy-boosting snack. They contain 30% less sugar than the average store-bought granola bar, without compromising on taste.
Healthier Alternatives for the Recipe
To make these bars even more nutritious:
- Replace brown sugar with mashed ripe banana for natural sweetness
- Use a sugar-free syrup alternative to reduce overall sugar content
- Add a scoop of plant-based protein powder for an extra protein boost
- Incorporate chia or flax seeds for added omega-3 fatty acids
These modifications can lower the glycemic index and increase the nutritional density of your bars, making them suitable for various dietary needs.
Serving Suggestions
Elevate your gluten-free granola bar experience with these creative serving ideas:
- Crumble over yogurt for a crunchy breakfast parfait
- Pair with a smoothie for a balanced on-the-go meal
- Serve alongside fresh fruit for a satisfying afternoon snack
- Drizzle with dark chocolate for an indulgent dessert option
These versatile bars can be adapted to suit any time of day or craving, making them a perfect addition to your snack repertoire.
Common Mistakes to Avoid
- Not pressing the mixture firmly enough: This can result in crumbly bars that fall apart easily.
- Overbaking: This leads to dry, hard bars. Look for golden edges as your cue to remove them from the oven.
- Cutting too soon: Patience is key! Cutting before the bars are completely cool will result in a messy, sticky situation.
- Using regular oats: Always ensure you’re using certified gluten-free oats to maintain the integrity of your gluten-free recipe.
Storing Tips for the Recipe
To keep your homemade gluten-free granola bars fresh and delicious:
- Store at room temperature in an airtight container for up to 5 days
- Refrigerate for up to 2 weeks to extend freshness
- Freeze individually wrapped bars for up to 3 months
For meal prep, you can make a double batch and freeze half for future use. Thaw frozen bars at room temperature for about an hour before enjoying.
Conclusion
Creating your own gluten-free granola bars at home is not only easy but also incredibly rewarding. You’ll enjoy a healthier, tastier alternative to store-bought options, tailored to your preferences and dietary needs. These bars are perfect for busy mornings, post-workout snacks, or anytime you need a quick energy boost.
Now that you have this foolproof recipe, why not give it a try? Experiment with different ingredients, share your creations with friends and family, and don’t forget to let us know how your homemade gluten-free granola bars turn out. Happy baking, and enjoy your delicious, homemade snacks!