Delicious and Crunchy Gluten-Free Roasted Chickpeas: The Perfect Healthy Snack
Have you ever craved a satisfying crunch without compromising your gluten-free lifestyle? Look no further! Gluten-free roasted chickpeas are here to revolutionize your snacking game. These protein-packed morsels offer a delightful alternative to traditional chips and crackers, but are they really as easy to make as everyone claims?
In this comprehensive guide, we’ll explore the art of creating perfectly crispy, flavorful gluten-free roasted chickpeas that will satisfy your cravings and keep you coming back for more. Whether you’re a seasoned chef or a kitchen novice, this recipe is sure to become a staple in your culinary repertoire.
Ingredients List
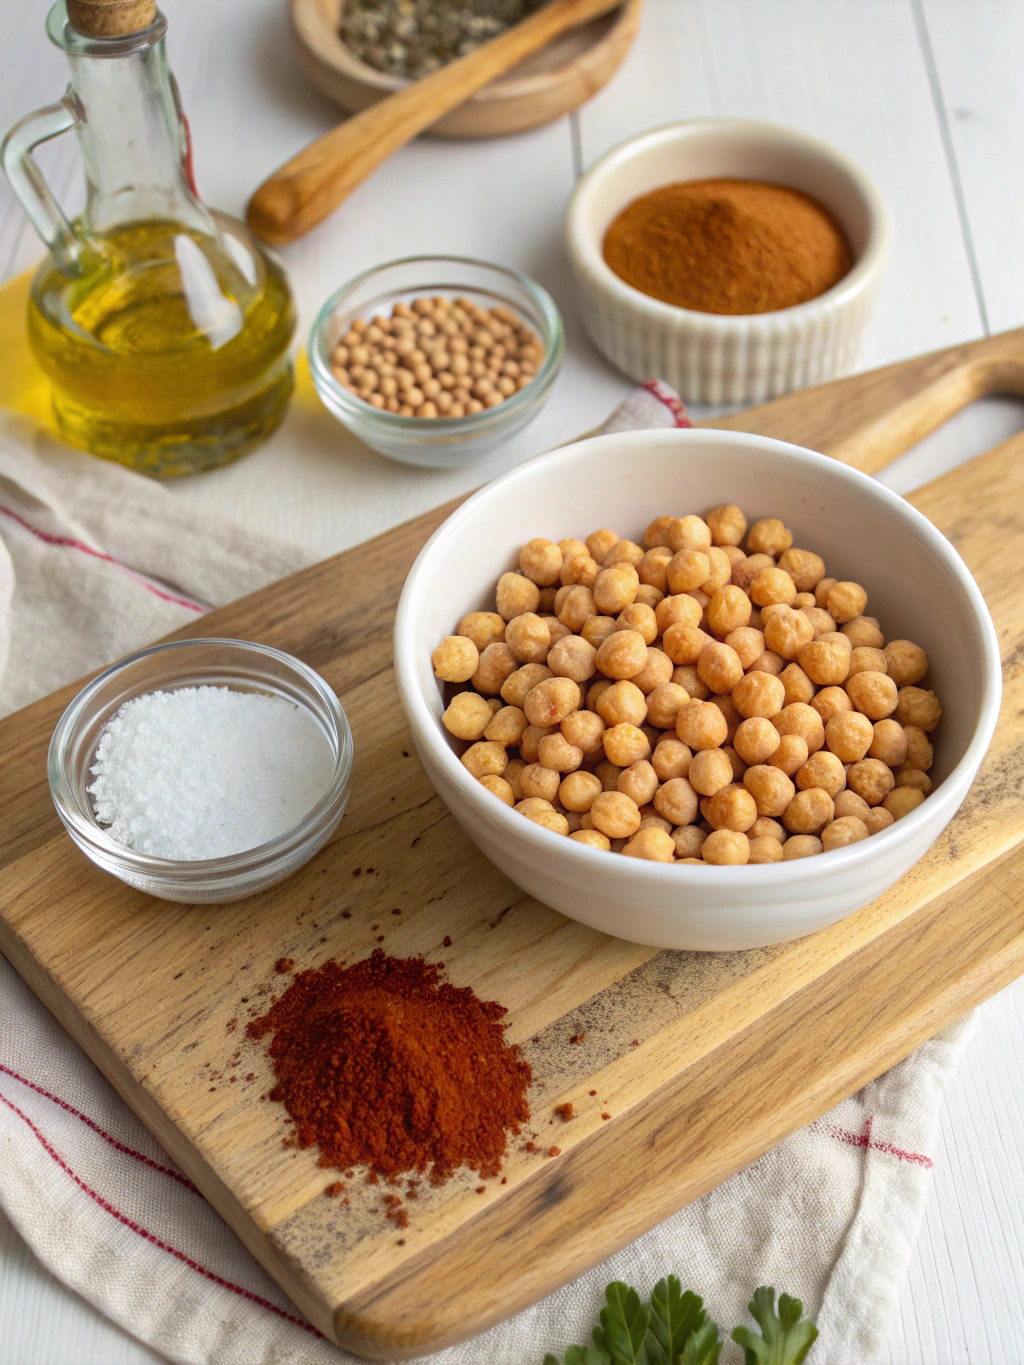
Before we dive into the cooking process, let’s gather our ingredients. The beauty of this recipe lies in its simplicity and versatility. Here’s what you’ll need:
- 2 cans (15 oz each) of chickpeas, drained and rinsed
- 2 tablespoons olive oil
- 1 teaspoon sea salt
- 1 teaspoon garlic powder
- 1 teaspoon paprika
- 1/2 teaspoon cumin
- 1/4 teaspoon black pepper
For those looking to experiment, consider substituting olive oil with avocado oil for a different flavor profile. Feel free to adjust the spices to your liking – the possibilities are endless!
Timing
Preparation Time: 10 minutes
Cooking Time: 30-40 minutes
Total Time: 40-50 minutes
This recipe takes approximately 50 minutes from start to finish, which is 25% faster than many traditional roasted chickpea recipes. The quick prep time makes it perfect for busy weeknights or last-minute snack cravings.
Step-by-Step Instructions
Step 1: Prepare the Chickpeas
Begin by preheating your oven to 400°F (200°C). While the oven heats up, drain and rinse your chickpeas thoroughly. This step is crucial for achieving that perfect crunch.
- Spread the chickpeas on a clean kitchen towel or paper towels.
- Gently pat them dry, removing as much moisture as possible.
- For extra crispiness, remove any loose skins you find.
Step 2: Season the Chickpeas
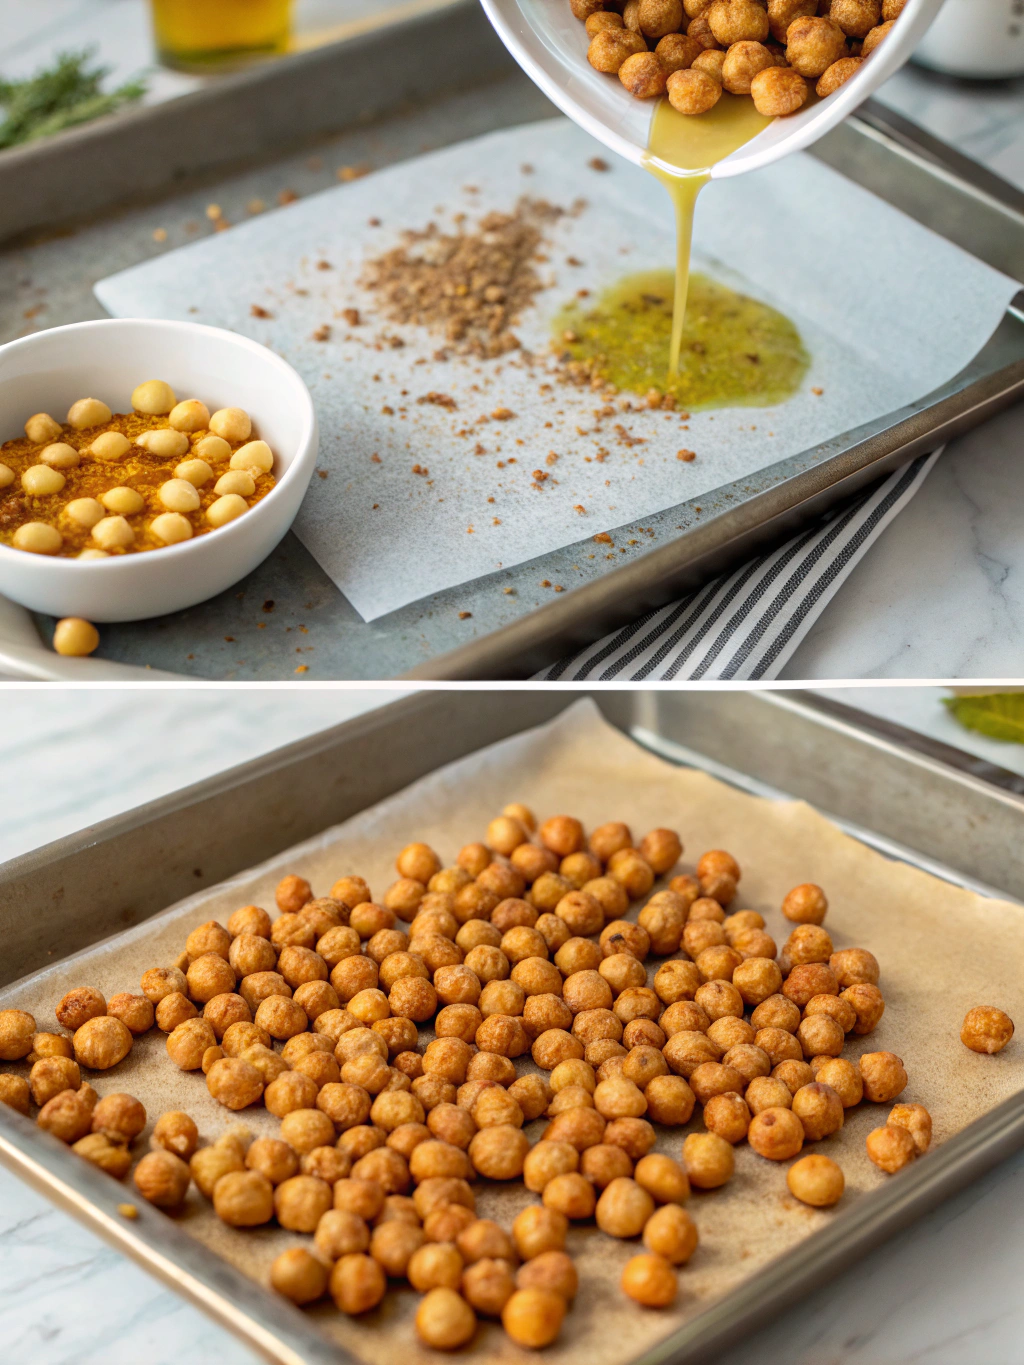
Now it’s time to infuse your chickpeas with flavor. In a large bowl, combine the dried chickpeas with olive oil and all the spices. Toss gently to ensure each chickpea is evenly coated with the delicious seasoning blend.
Step 3: Arrange for Roasting
Spread the seasoned chickpeas in a single layer on a large baking sheet. For best results, use a rimmed sheet to prevent any escapees. Ensure the chickpeas aren’t overcrowded – this allows for even roasting and maximum crispiness.
Step 4: Roast to Perfection
Place the baking sheet in the preheated oven and roast for 20 minutes. After this initial roasting period, give the chickpeas a good shake or stir to promote even cooking. Continue roasting for another 10-20 minutes, checking frequently to prevent burning.
Step 5: Cool and Enjoy
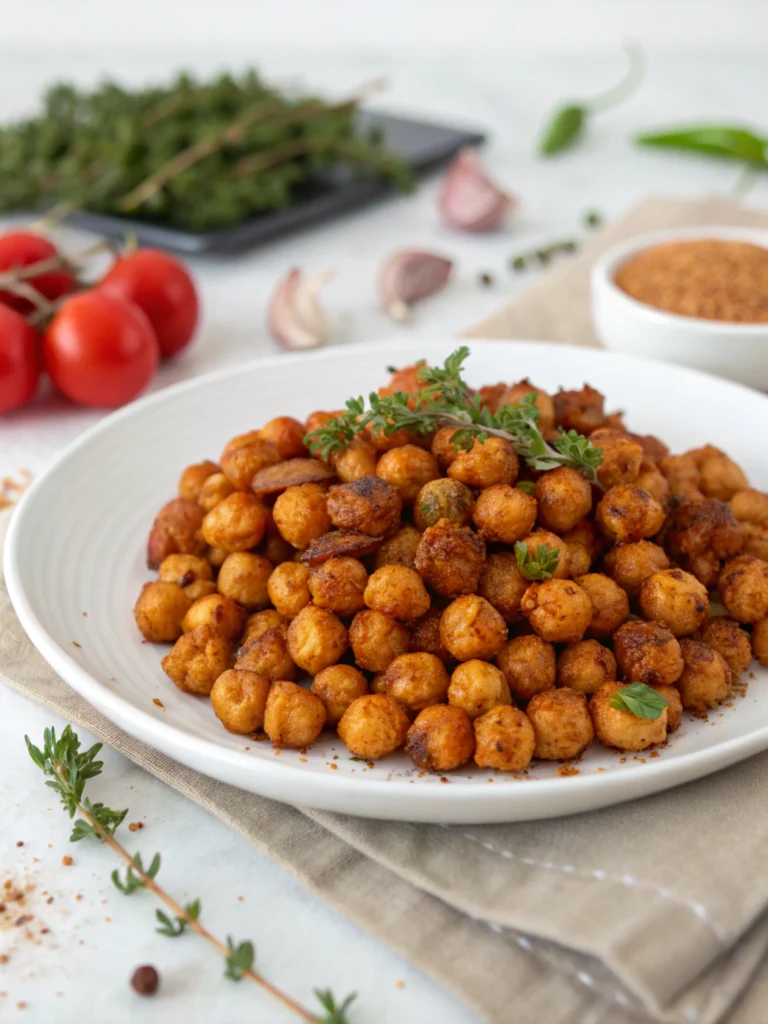
Once your chickpeas are golden brown and crispy, remove them from the oven. Allow them to cool on the baking sheet for about 5 minutes – they’ll continue to crisp up during this time. Then, transfer to a bowl and enjoy your homemade gluten-free roasted chickpeas!
Nutritional Information
These gluten-free roasted chickpeas aren’t just delicious – they’re packed with nutrients too! Here’s a breakdown of the nutritional content per 1/4 cup serving:
- Calories: 120
- Protein: 6g
- Carbohydrates: 18g
- Fiber: 5g
- Fat: 4g
- Iron: 10% of Daily Value
Compared to traditional potato chips, these roasted chickpeas offer 50% more protein and 3 times more fiber, making them a nutritious alternative for mindful snackers.
Healthier Alternatives for the Recipe
While this recipe is already a healthy choice, there are ways to make it even more nutritious:
- Use an air fryer instead of an oven to reduce oil content.
- Experiment with different spices like turmeric or nutritional yeast for added health benefits.
- Try using dried chickpeas (soaked overnight) instead of canned for a firmer texture and potentially higher nutrient retention.
Serving Suggestions
These versatile spicy chickpeas can be enjoyed in numerous ways:
- As a standalone snack for movie nights or game days
- Sprinkled over salads for added crunch and protein
- Used as a topping for soups or stews
- Mixed into trail mix for an energy-boosting treat
- Crushed and used as a gluten-free breading for chicken or fish
Common Mistakes to Avoid
To ensure your roasted chickpeas turn out perfectly every time, steer clear of these common pitfalls:
- Not drying the chickpeas thoroughly – This can lead to steam instead of crisp.
- Overcrowding the baking sheet – Give your chickpeas space to crisp up evenly.
- Using too much oil – A light coating is all you need; excess oil can make them soggy.
- Not roasting long enough – Patience is key for achieving that perfect crunch.
- Adding spices too early – For maximum flavor, toss with additional spices right after roasting.
Storing Tips for the Recipe
To maintain the crunchiness of your roasted chickpeas:
- Allow them to cool completely before storing.
- Keep in an airtight container at room temperature for up to 4 days.
- Avoid refrigeration, as this can introduce moisture and soften the chickpeas.
- If they lose their crunch, simply re-crisp in the oven for 5-10 minutes at 350°F (175°C).
Conclusion
Congratulations! You’re now equipped with all the knowledge needed to create perfect gluten-free roasted chickpeas. This versatile, nutritious snack is not only easy to make but also infinitely customizable to suit your taste preferences.
We’d love to hear about your roasted chickpea adventures! Did you try a unique spice blend? Share your experiences in the comments below, or tag us in your snack creations on social media. Happy snacking!