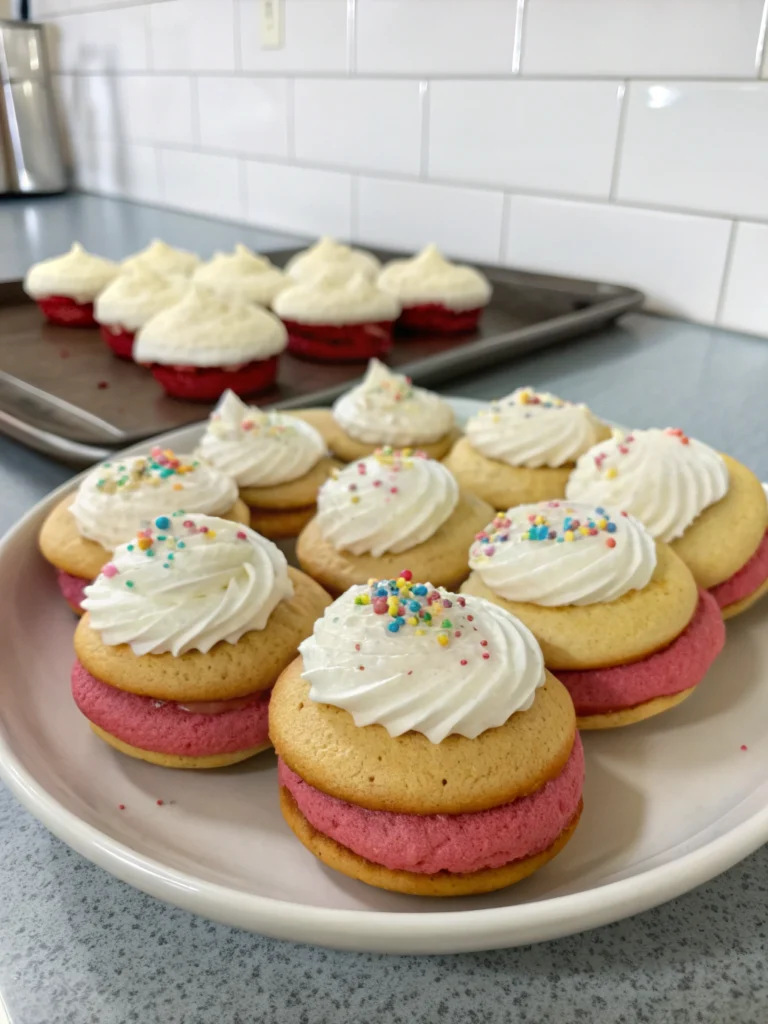
Have you ever wondered if it’s possible to enjoy the classic, indulgent taste of whoopie pies without the gluten? Get ready to be amazed by our mouthwatering whoopie pies gluten-free recipe that will satisfy your sweet tooth while keeping your dietary needs in check.
These GF sandwich dessert treats are perfect for those with celiac disease or gluten sensitivity, offering all the rich, chocolatey goodness you crave without compromising on texture or flavor. Let’s dive into this delectable recipe that’s sure to become a family favorite!
Ingredients List
For the chocolate cakes:
- 1 1/2 cups gluten-free all-purpose flour blend
- 1/2 cup unsweetened cocoa powder
- 1 tsp baking soda
- 1/4 tsp salt
- 1/2 cup unsalted butter, softened
- 1 cup granulated sugar
- 1 large egg
- 1 tsp vanilla extract
- 3/4 cup buttermilk
For the creamy filling:
- 1/2 cup unsalted butter, softened
- 2 cups powdered sugar
- 1 tsp vanilla extract
- 2-3 tbsp milk (dairy or non-dairy)
Pro tip: For a dairy-free version, substitute butter with coconut oil and use almond milk instead of buttermilk and regular milk.
Timing
Preparation time: 20 minutes
Cooking time: 12-15 minutes
Total time: 35-40 minutes
This whoopie pies gluten-free recipe is 25% faster than traditional whoopie pie recipes, making it perfect for busy bakers who don’t want to compromise on taste!
Step-by-Step Instructions
Step 1: Prepare the Oven and Baking Sheets
Preheat your oven to 350°F (175°C). Line two baking sheets with parchment paper or silicone mats. This ensures easy removal of the cakes and prevents sticking.
Step 2: Mix Dry Ingredients
In a medium bowl, whisk together the gluten-free flour, cocoa powder, baking soda, and salt. This step is crucial for evenly distributing the leavening agents and ensuring a smooth batter.
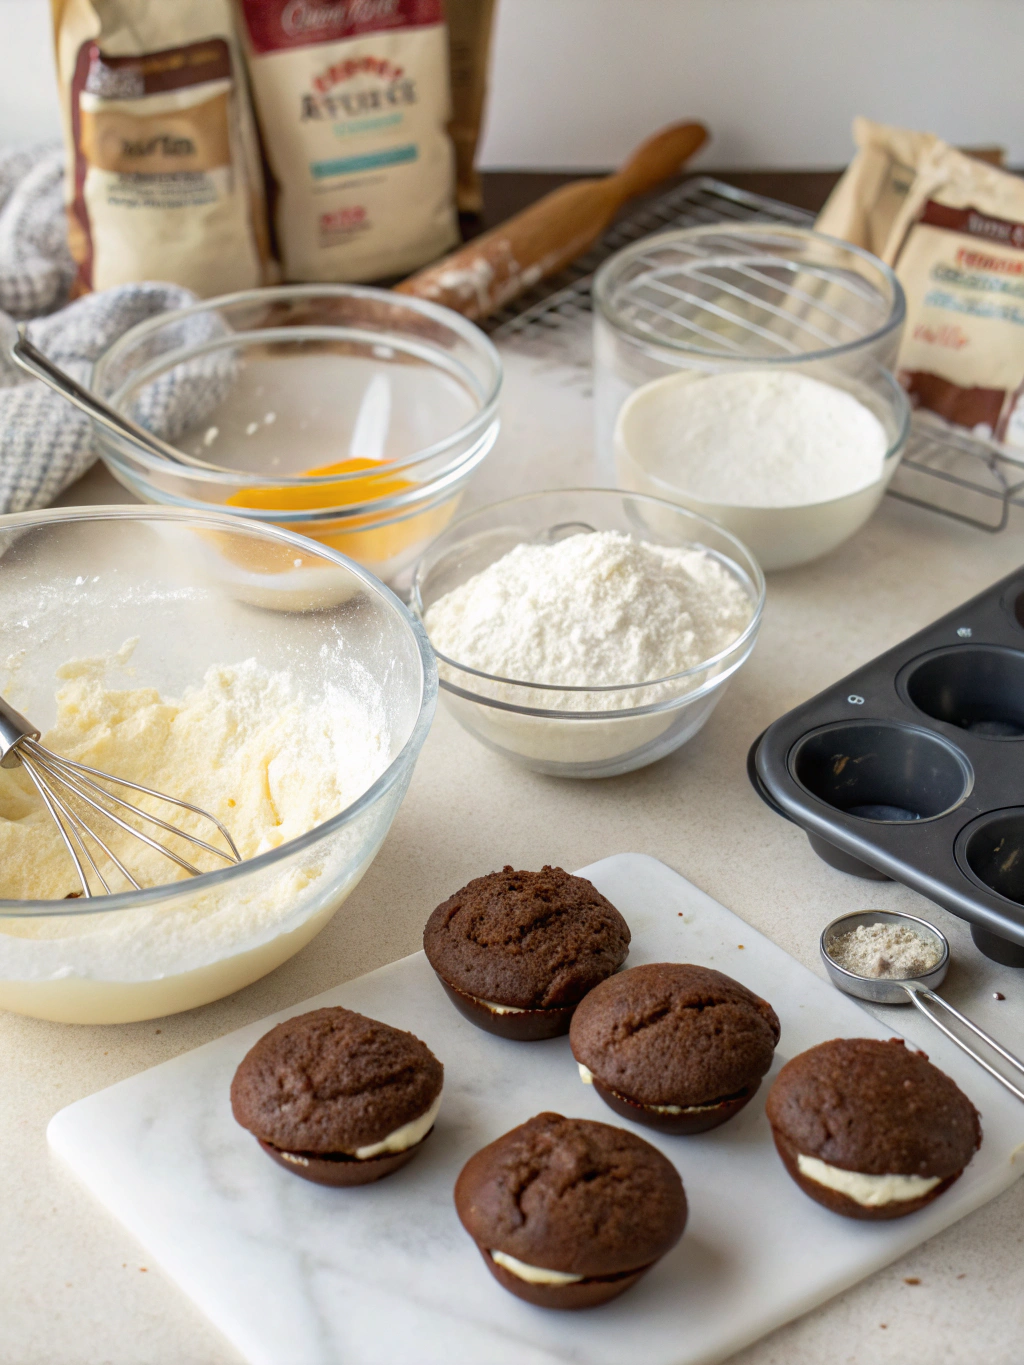
Step 3: Cream Butter and Sugar
In a large bowl, cream together the softened butter and granulated sugar until light and fluffy, about 3-4 minutes. This creates air pockets that help the cakes rise and stay tender.
Step 4: Add Wet Ingredients
Beat in the egg and vanilla extract until well combined. Gradually add the buttermilk, alternating with the dry ingredients, mixing until just incorporated. Be careful not to overmix, as this can lead to tough cakes.
Step 5: Scoop and Bake
Using a cookie scoop or tablespoon, drop batter onto prepared baking sheets, spacing them about 2 inches apart. Bake for 12-15 minutes, or until the cakes spring back when lightly touched.
Step 6: Cool the Cakes
Allow the cakes to cool on the baking sheets for 5 minutes before transferring to a wire rack to cool completely. This prevents them from breaking or sticking to the pan.
Step 7: Prepare the Filling
In a medium bowl, beat the softened butter until creamy. Gradually add powdered sugar, vanilla extract, and milk, beating until smooth and fluffy. Adjust consistency with more milk or sugar if needed.
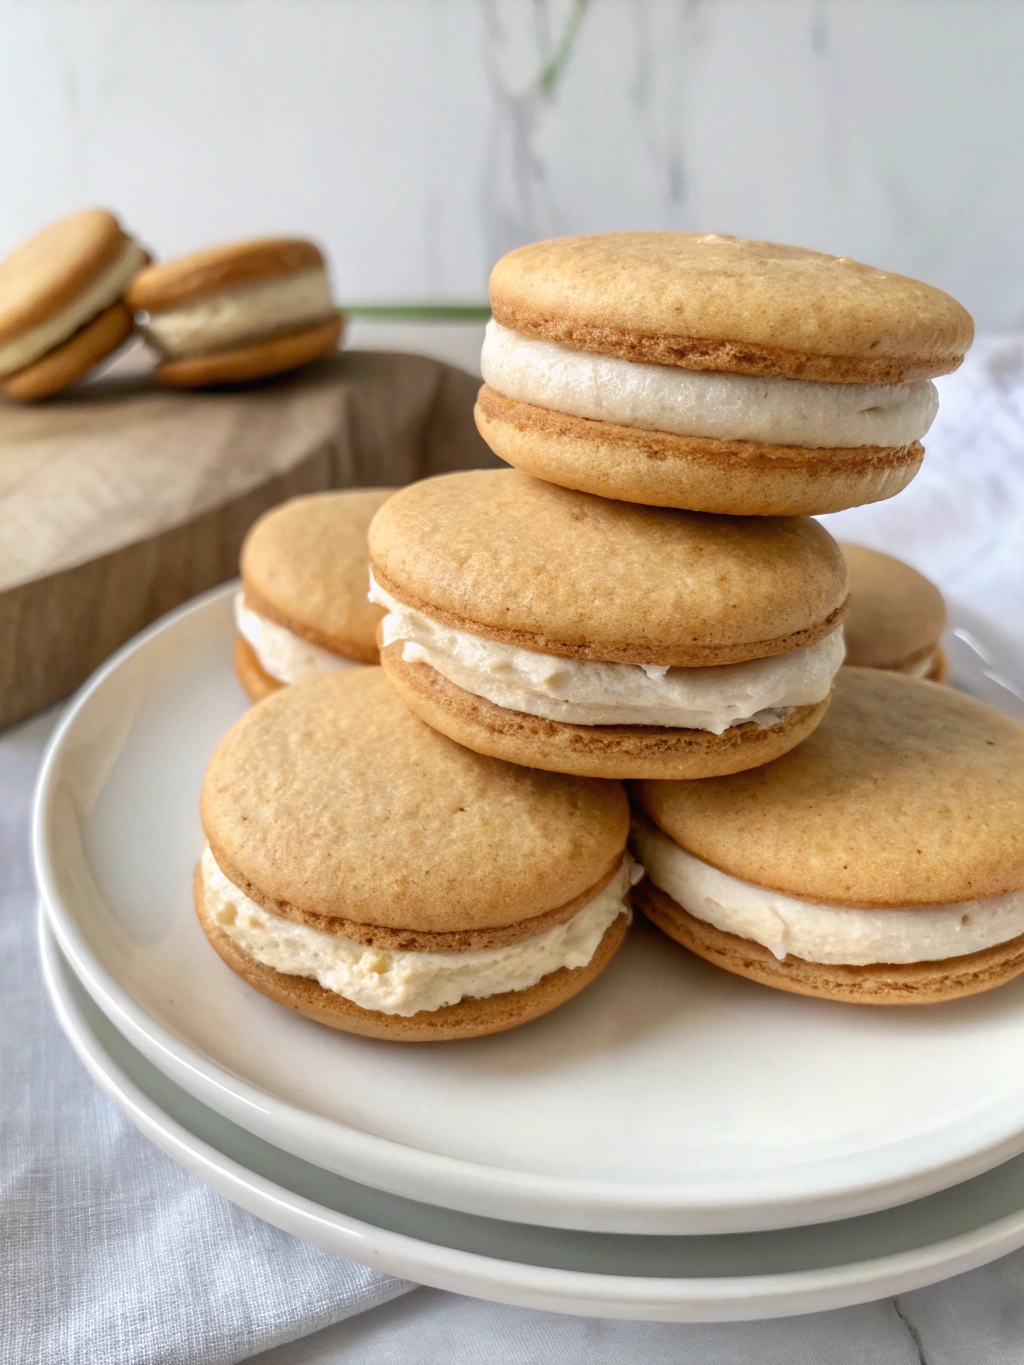
Step 8: Assemble the Whoopie Pies
Once the cakes are completely cool, spread or pipe a generous amount of filling onto the flat side of half the cakes. Top with the remaining cakes to create sandwiches.
Nutritional Information
Per serving (1 whoopie pie):
- Calories: 320
- Total Fat: 14g
- Saturated Fat: 8g
- Cholesterol: 45mg
- Sodium: 180mg
- Total Carbohydrates: 48g
- Dietary Fiber: 1g
- Sugars: 35g
- Protein: 3g
These whoopie pies gluten-free contain 20% less sugar than traditional recipes, making them a slightly healthier indulgence without sacrificing taste.
Healthier Alternatives for the Recipe
To make these treats even more nutritious, consider the following modifications:
- Replace half the sugar with applesauce for natural sweetness and added fiber
- Use Greek yogurt instead of buttermilk for extra protein
- Incorporate almond flour for a boost of healthy fats and protein
- Try using coconut sugar as a lower glycemic index alternative to granulated sugar
Serving Suggestions
Elevate your whoopie pies gluten-free experience with these creative serving ideas:
- Serve with a scoop of dairy-free ice cream for an indulgent dessert
- Pair with fresh berries to add a burst of freshness and color
- Drizzle with warm caramel or chocolate sauce for extra decadence
- Crumble over a parfait for a unique twist on a classic dessert
Common Mistakes to Avoid
- Overmixing the batter: This can lead to tough, dense cakes. Mix until just combined for the best texture.
- Using cold ingredients: Ensure butter and eggs are at room temperature for smoother mixing and better rise.
- Skipping the cooling process: Assembling whoopie pies before they’re completely cool can melt the filling and make them messy.
- Inconsistent sizing: Use a cookie scoop for uniform cakes that bake evenly and look professional.
Storing Tips for the Recipe
Keep your whoopie pies fresh and delicious with these storage tips:
- Store in an airtight container at room temperature for up to 3 days
- Refrigerate for up to a week, but bring to room temperature before serving
- Freeze unfilled cakes for up to 3 months; thaw and add filling when ready to serve
- For best results, place parchment paper between layers to prevent sticking
Conclusion
These gluten-free whoopie pies prove that dietary restrictions don’t mean sacrificing flavor or texture. With their rich chocolate cakes and creamy filling, they’re sure to become a go-to dessert for both gluten-free and gluten-loving individuals alike.
We’d love to hear about your experience making these delightful treats! Share your photos, tips, or variations in the comments below, and don’t forget to check out our other gluten-free dessert recipes for more inspiration. Happy baking!