Delicious Gluten-Free Waffles: A Perfect Start to Your Day
Have you ever wondered if it’s possible to enjoy crispy, fluffy waffles without the gluten? Get ready to revolutionize your breakfast routine with these mouthwatering gluten-free waffles! Whether you’re celiac, gluten-sensitive, or simply looking to diversify your diet, this recipe will become your new go-to for a satisfying morning meal.
Our gluten-free waffles recipe combines the perfect blend of ingredients to create a texture and taste that rivals traditional wheat-based waffles. Say goodbye to dense, disappointing gluten-free breakfasts and hello to a world of crispy-on-the-outside, fluffy-on-the-inside waffle perfection!
Ingredients List
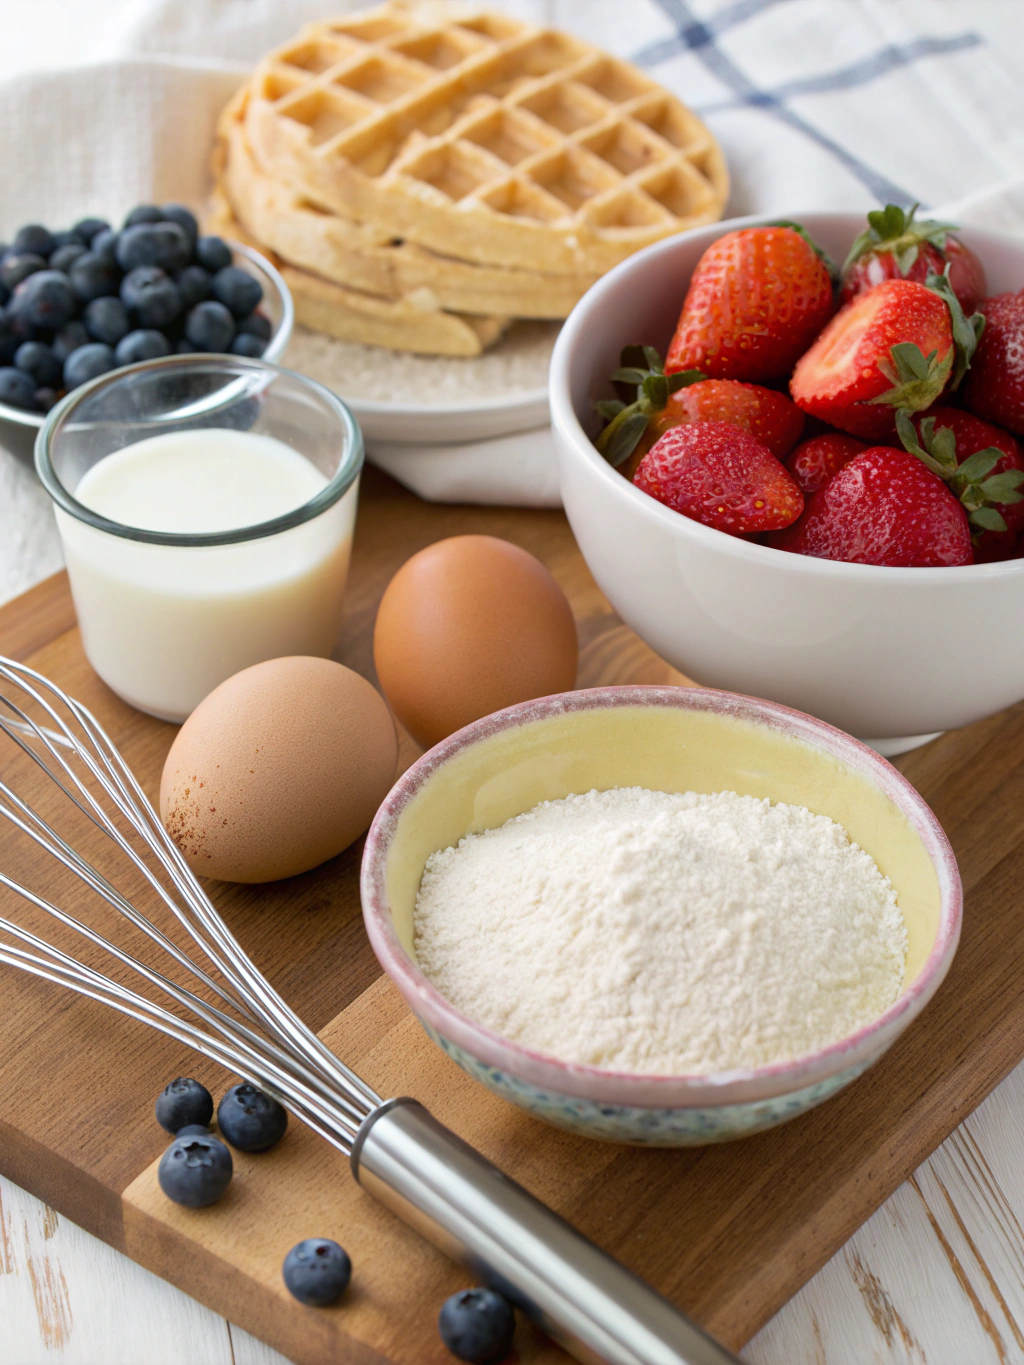
- 2 cups gluten-free all-purpose flour blend
- 2 teaspoons baking powder
- 1/2 teaspoon salt
- 1/4 cup granulated sugar
- 2 large eggs
- 1 3/4 cups milk (dairy or non-dairy)
- 1/3 cup vegetable oil or melted butter
- 1 teaspoon vanilla extract
For those with additional dietary restrictions, consider these substitutions: replace eggs with a flax egg (1 tablespoon ground flaxseed mixed with 3 tablespoons water) for each egg, use your preferred non-dairy milk, and opt for coconut oil instead of butter for a dairy-free version.
Timing
Preparation time: 10 minutes
Cooking time: 15-20 minutes
Total time: 25-30 minutes
This recipe takes about 30% less time than traditional wheat-based waffle recipes, making it perfect for busy mornings or lazy weekend brunches alike.
Step-by-Step Instructions
Step 1: Mix Dry Ingredients
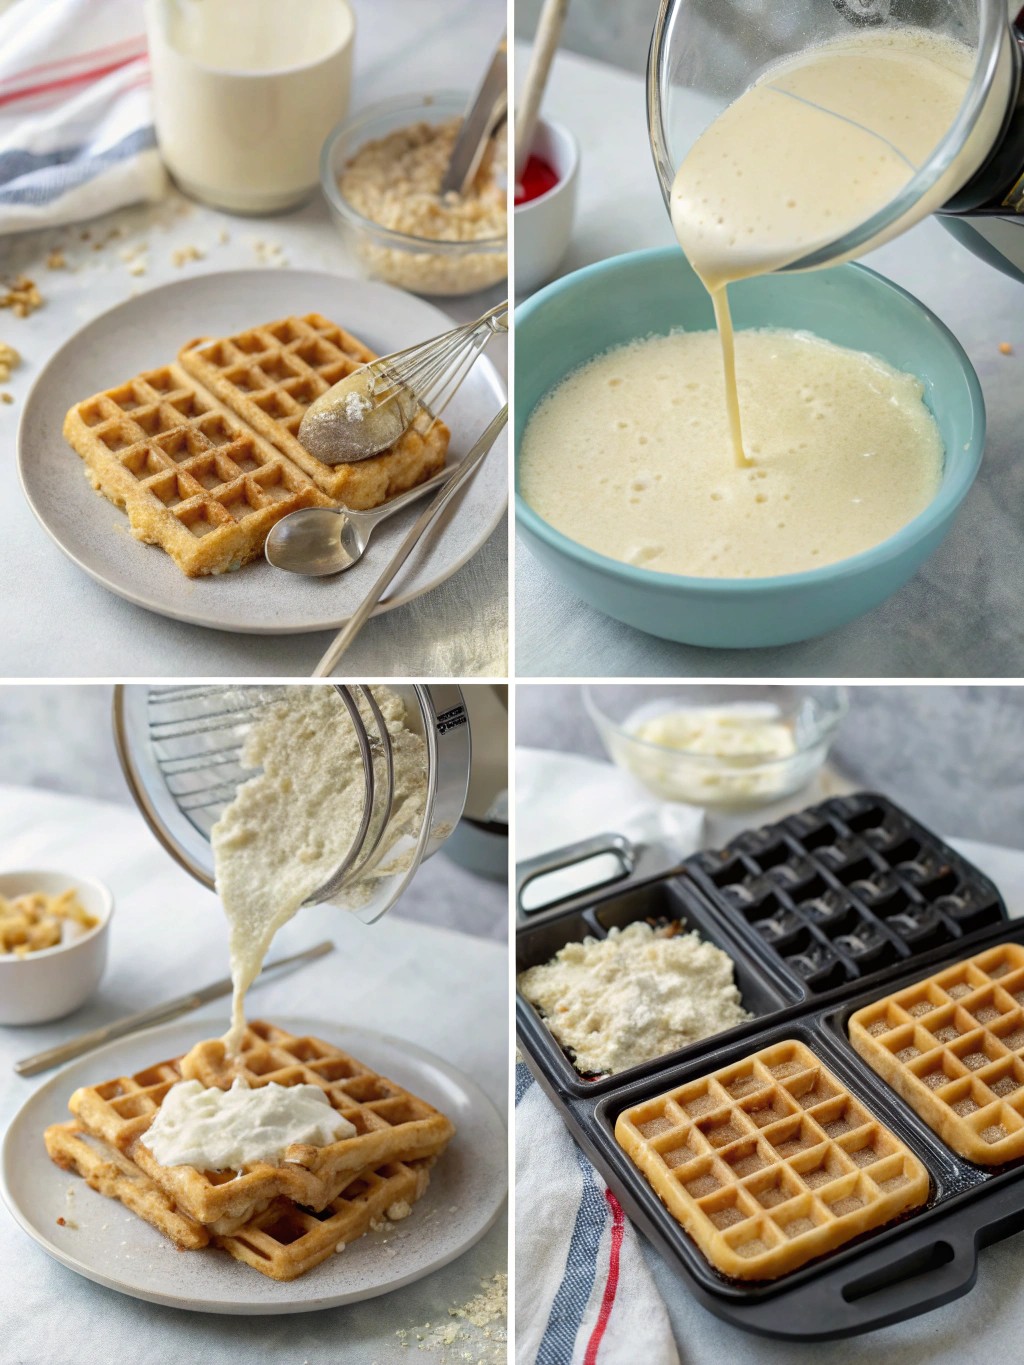
In a large bowl, whisk together the gluten-free flour, baking powder, and salt. This ensures even distribution of leavening agents for perfectly fluffy waffles.
Step 2: Combine Wet Ingredients
In a separate bowl, beat the eggs, then add milk, oil (or melted butter), sugar, and vanilla extract. Whisk until well combined. The sugar helps create that desirable crispy exterior.
Step 3: Create the Batter
Gradually pour the wet ingredients into the dry mixture, stirring gently until just combined. Be careful not to overmix, as this can lead to tough waffles. A few small lumps are perfectly fine!
Step 4: Preheat and Prepare Waffle Iron
Preheat your waffle iron according to manufacturer instructions. Lightly grease with oil or cooking spray to prevent sticking, which is especially important for gluten-free waffles.
Step 5: Cook the Waffles
Pour the batter onto the preheated waffle iron, using about 1/2 to 3/4 cup per waffle, depending on your iron’s size. Cook until golden brown and crispy, typically 3-5 minutes.
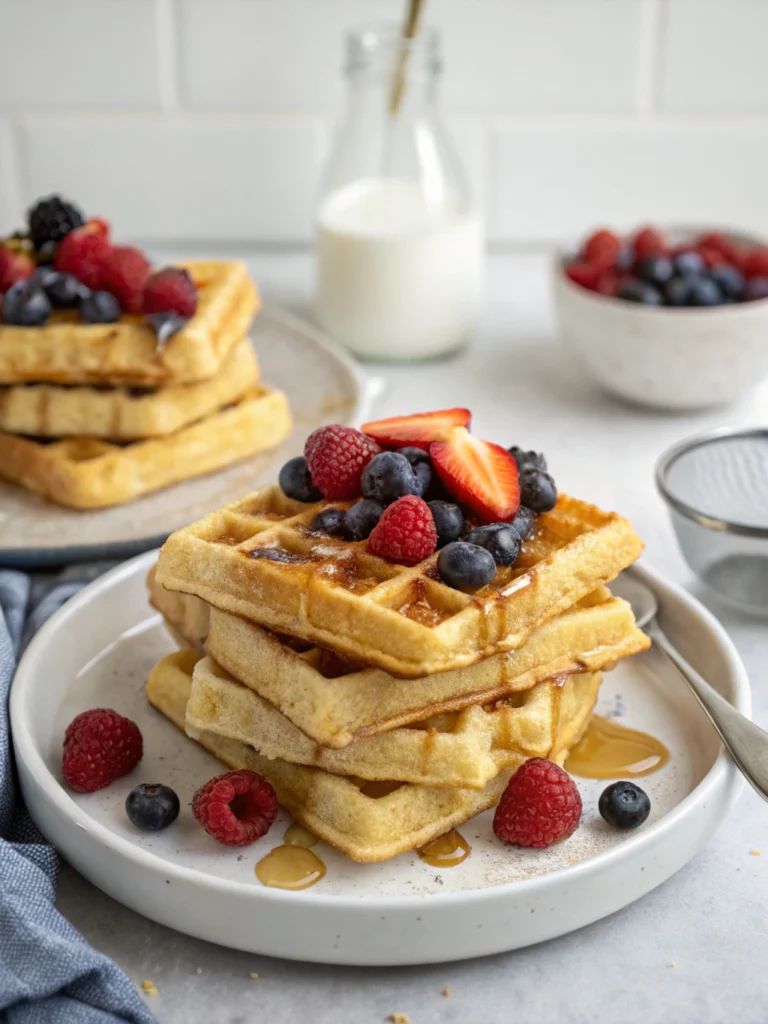
Step 6: Serve and Enjoy
Remove the waffle carefully and serve immediately for maximum crispiness. Repeat with remaining batter. These gluten-free waffles are best enjoyed fresh off the iron!
Nutritional Information
Per serving (1 large waffle):
- Calories: 280
- Total Fat: 12g
- Saturated Fat: 2g
- Cholesterol: 55mg
- Sodium: 300mg
- Total Carbohydrates: 38g
- Dietary Fiber: 2g
- Sugars: 8g
- Protein: 6g
These easy gluten-free waffles provide a balanced nutritional profile, with a good mix of carbohydrates, proteins, and fats to keep you energized throughout the morning.
Healthier Alternatives for the Recipe
To boost the nutritional value of your gluten-free waffles, consider these modifications:
- Substitute half the flour with almond flour for added protein and healthy fats
- Use coconut sugar instead of granulated sugar for a lower glycemic index
- Add 1/4 cup of ground flaxseed for extra fiber and omega-3 fatty acids
- Incorporate 1/2 cup of mashed ripe banana to reduce added sugar and increase potassium
Serving Suggestions
Elevate your gluten-free waffle experience with these creative serving ideas:
- Top with fresh berries and a dollop of Greek yogurt for a protein-packed breakfast
- Drizzle with pure maple syrup and sprinkle with cinnamon for a classic touch
- Create a savory version by topping with avocado, a poached egg, and hollandaise sauce
- Make a dessert waffle by adding a scoop of dairy-free ice cream and a drizzle of chocolate sauce
Common Mistakes to Avoid
- Overmixing the batter: This can lead to tough, chewy waffles. Mix until just combined for the best texture.
- Using cold ingredients: Ensure eggs and milk are at room temperature for better incorporation and fluffier waffles.
- Opening the waffle iron too soon: Resist the urge to peek! Opening too early can cause the waffle to split and stick.
- Neglecting to grease the iron: Gluten-free batters tend to stick more, so always grease your waffle iron well.
- Storing waffles improperly: If not eating immediately, place waffles on a wire rack to prevent sogginess.
Storing Tips for the Recipe
To maintain the quality of your gluten-free waffles:
- Cool completely before storing to prevent condensation and sogginess
- Store in an airtight container in the refrigerator for up to 3 days
- For longer storage, freeze waffles in a single layer, then transfer to a freezer bag for up to 3 months
- Reheat frozen waffles in a toaster or oven at 350°F (175°C) for 5-7 minutes for best results
Conclusion
These delicious gluten-free waffles prove that you don’t need gluten to enjoy a crispy, fluffy breakfast treat. With simple ingredients and easy-to-follow steps, you can create a memorable meal that caters to various dietary needs without sacrificing taste or texture.
We’d love to hear about your gluten-free waffle adventures! Try this recipe and share your experience in the comments below. Don’t forget to experiment with different toppings and let us know your favorite combinations. Happy waffle-making!